

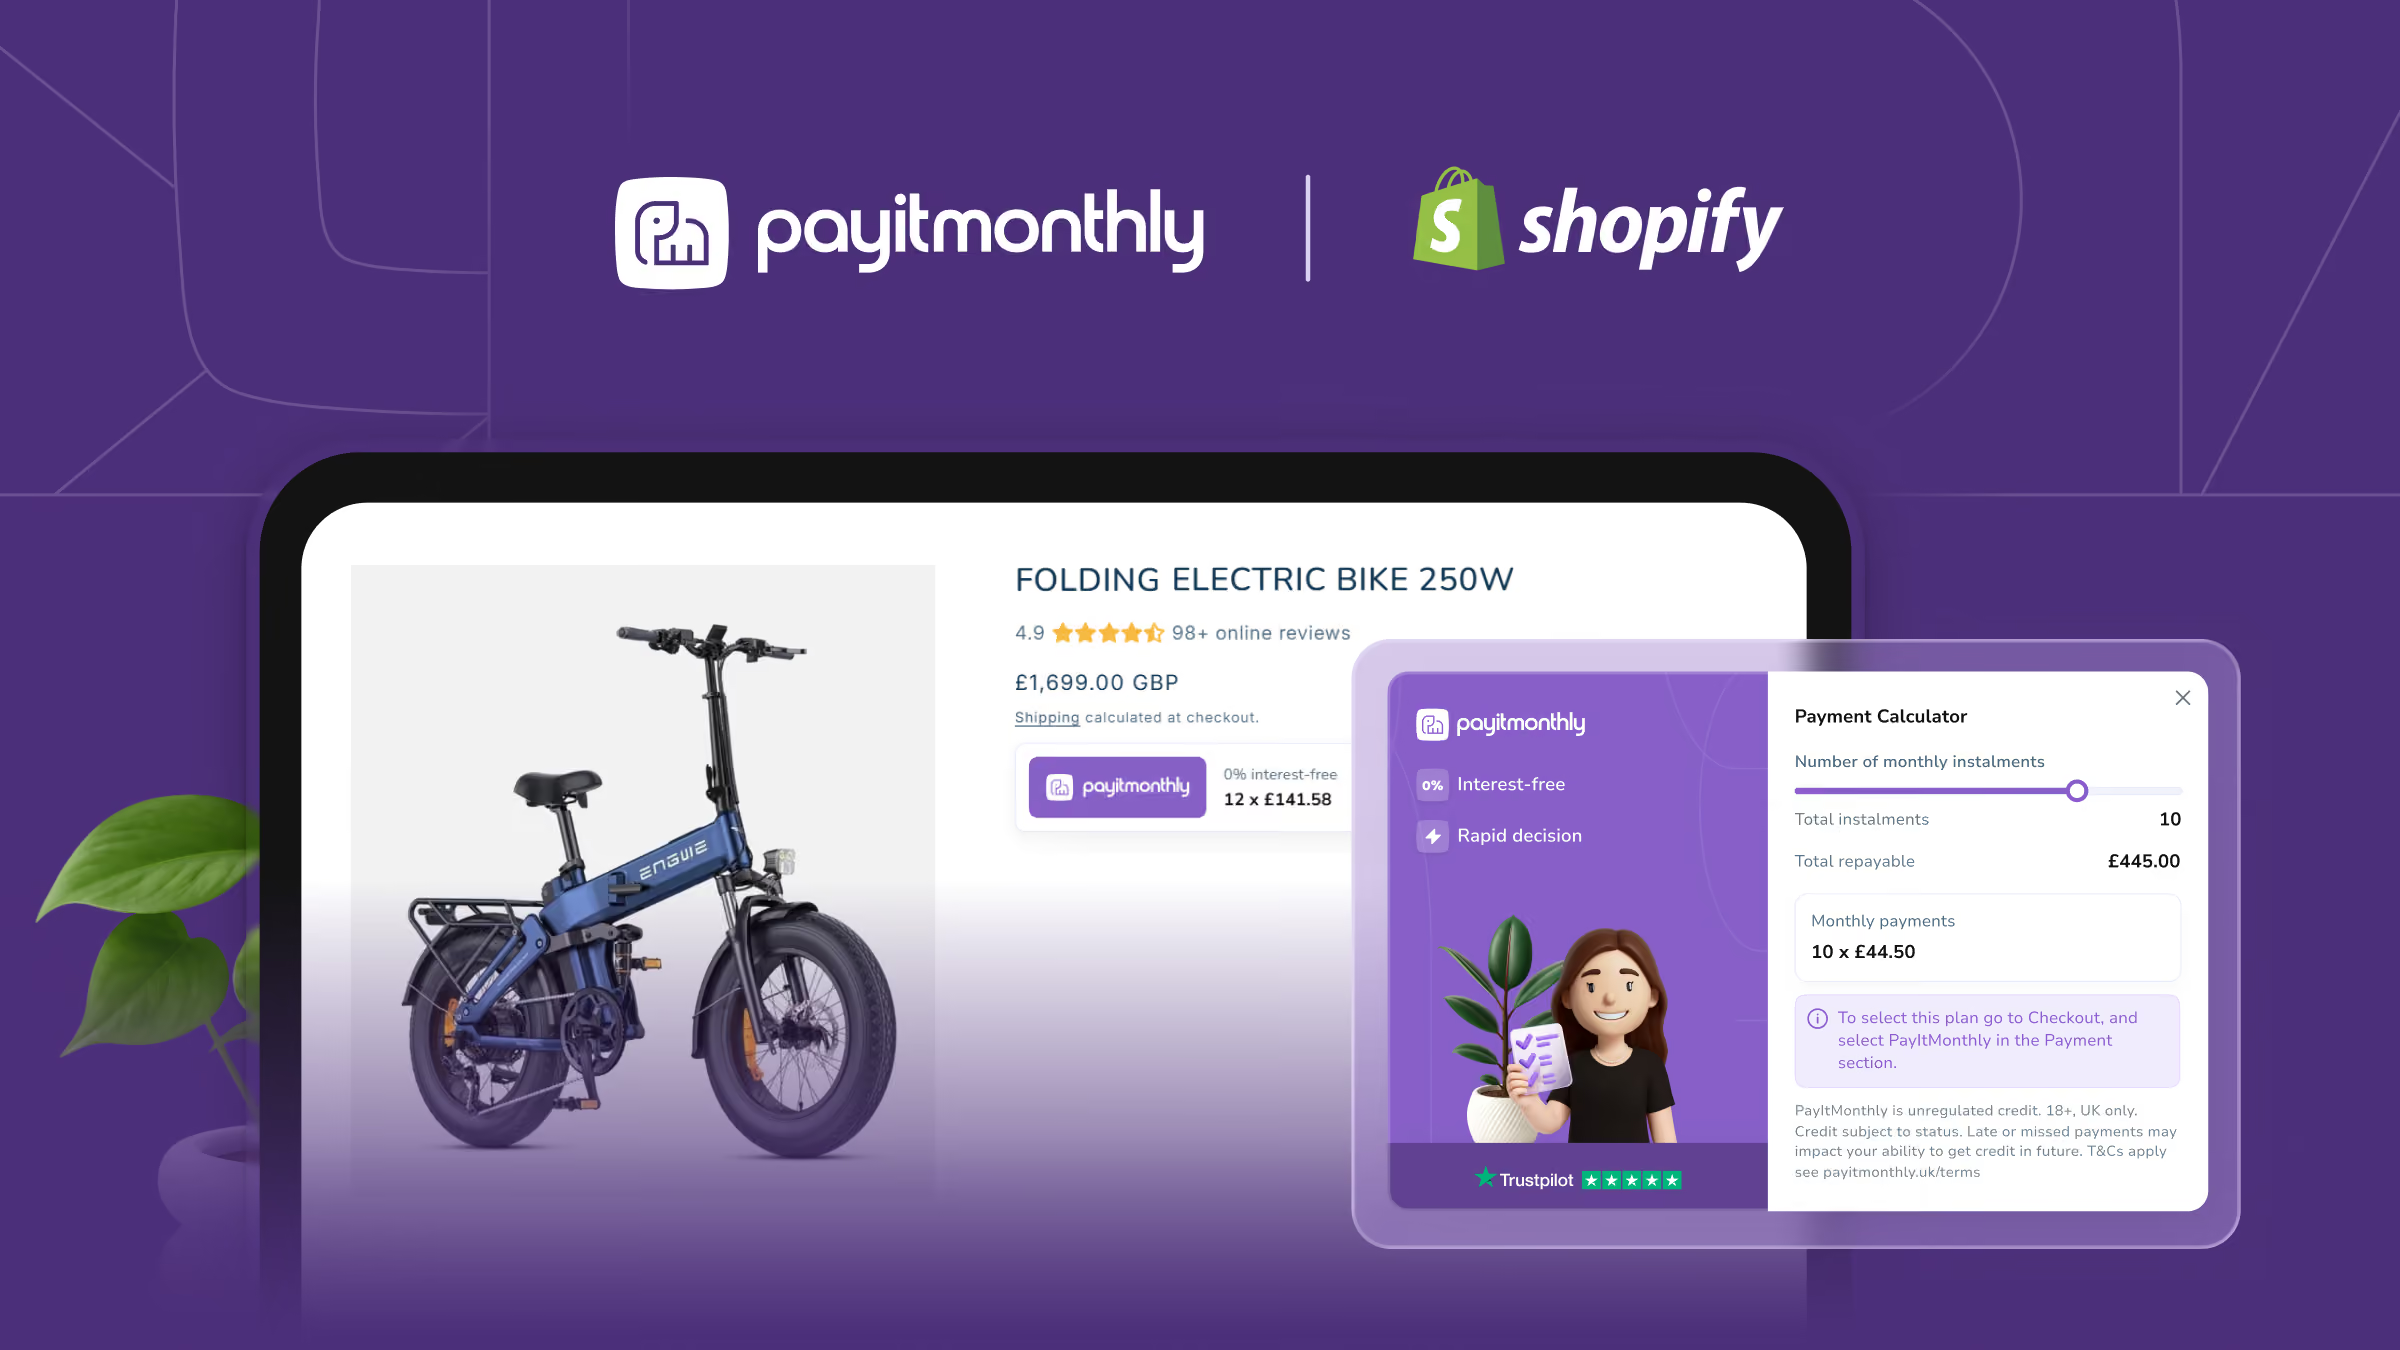
Set up PayItMonthly on Shopify

Getting started is simple and doesn’t require any coding. The Payment Plugin adds PayItMonthly as a finance option at checkout, while the Customisation App gives you full control over your finance settings, including instalment lengths and when PayItMonthly appears. It also lets you add our handy finance calculator to product pages, so customers can explore their monthly payment options before checkout.
Want to see how it works first? Visit our Shopify demo store to explore the customer journey and see the full integration in action.

Step 1 Payment Plugin (Mandatory)
This guide will walk you through the simple steps to install and set up the PayItMonthly payment plugin on your Shopify store. Once installed, you’ll be able to offer flexible monthly payment options to your customers directly at checkout.
Step 2 Customisation App (Mandatory)
The customisation app works alongside the PayItMonthly for Shopify plugin, allowing merchants to configure key details like cart limits and maximum instalment options.
Step 3 Finance Calculator Widget (Optional)
The PayItMonthly Finance Calculator Widget can be added to your Shopify store once the PayItMonthly Shopify Customisation App is installed. It gives customers a clear view of their available finance options, allowing them to explore different instalment lengths and monthly repayment amounts before they reach checkout.